
The Grimerica Newsletter moves to Substack - June 16, 2023
The Grimerica Newsletter moves to Substack - June 16, 2023
The Ultimate Chest Freezer Cold Plunge How-to Guide

Thanks for Subscribing to our newsletter, feel free to forward this email!
The Ultimate Chest Freezer Cold Plunge How-to
After years of encouragement from my good friend and modern-day shaman Brandon Powell, I was finally able to get serious about building my own cold plunging tank. Filling a tank with water and ice or even the bathtub is just not practical for a daily routine and only adds more obstacles in the path of ending up in the cold water. I wanted something that could be always at temperature so we could use it our leisure with no excuses between us and the tub.
Some of the benefits of cold plunging:
1. Reduces inflammation: Cold plunging can help reduce inflammation in the body, which can lead to a variety of health benefits.
2. Boosts immune system: Cold plunging can help boost the immune system by increasing the production of white blood cells.
3. Improves circulation: Cold plunging can help improve circulation by constricting blood vessels and then dilating them, which can help improve blood flow.
4. Reduces muscle soreness: Cold plunging can help reduce muscle soreness and speed up recovery after exercise.
5. Increases energy: Cold plunging can help increase energy levels by stimulating the release of adrenaline and other hormones.
6. Improves mental health: Cold plunging can help improve mental health by reducing stress and anxiety levels.
7. Promotes better sleep: Cold plunging can help promote better sleep by reducing stress and promoting relaxation.
The problem is that all the tanks on the market are extremely expensive, the cheapest I was able to find started at around $5000 and was made of an inflatable material that would likely not last for several years. I knew Brandon had utilized a chest freezer for his cold plunge, so I set about to do the same, but I wanted to take my tank to the next level and build a bathtub inside the freezer. I had little experience in fiberglass outside of autobody work but was able to pull it off for not much more than a thousand bucks, freezer not included. Here is a step-by-step guide of how I did it, what I used, and how much it cost.
The first thing you’ll need to do is find a freezer. You’re going to want it to be at least a 7 cubic foot capacity to fit comfortably, without wasting energy cooling to much extra water. An older, even rusty, or stained freezer should be fine for this assuming it is in good working order, once we are finished, you’ll no longer see any of the inside. Some guides will express the need for a drain, but I find siphoning to work just fine for water changes.
Start by lining the interior seams of the freezer with a bead of JB weld marine (5 tubes), I also sprayed the interior of the freezer with a rubberized Stop-Leak paint (2 cans), to prevent rust if some moisture ends up there. After that I set to lining the entire inside of the freezer with 5/8” OSB plywood, using a spray on adhesive to secure

.

Once fully lined it should look something like this

I also added some 3” strips in all of the 90-degree corners to make it a little easier to create softer corners in the finished tub and reduce the possibility of tears.

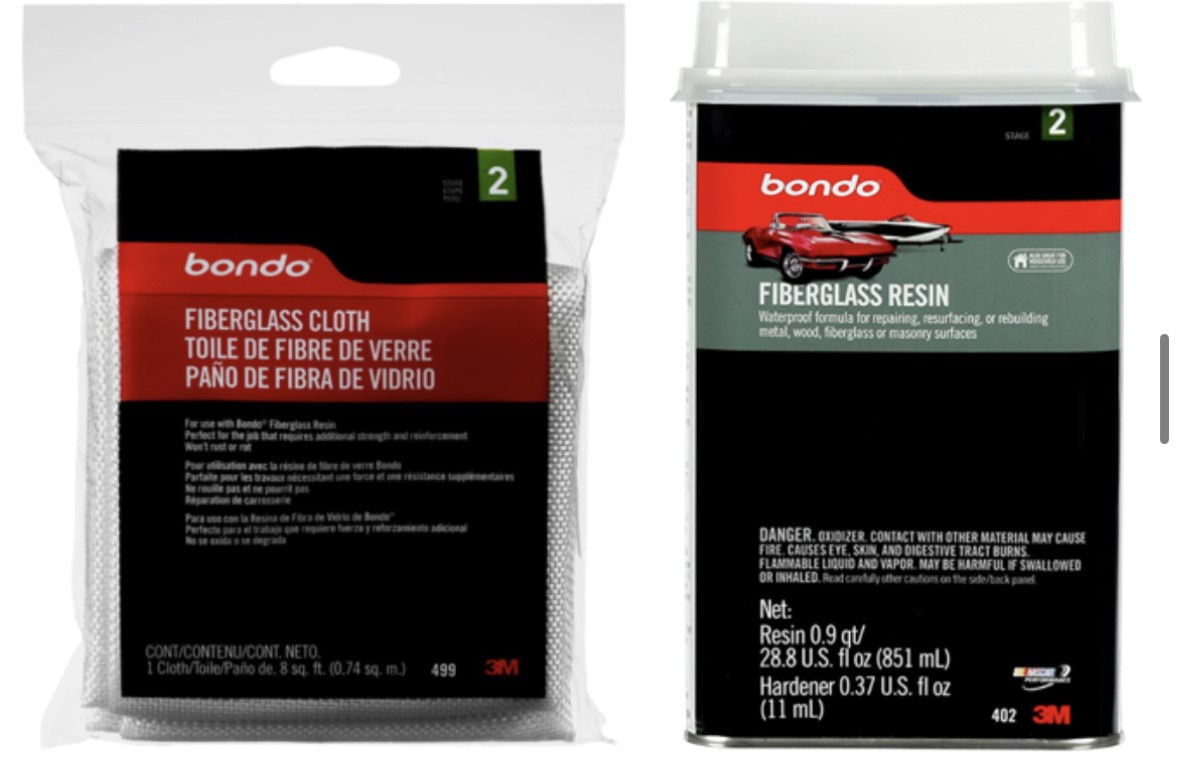
Now You’re ready to start creating your tub out of fiberglass resin and cloth. You’ll need 10-15 containers of fiberglass resin and enough cloth for 3 layers. The Resin cures quickly after the hardening agent is added, so it’s advisable to mix small batches. I did ¾ of a cup per batch. You will ruin several paintbrushes and any clothes that get caught up in the mess, and they will. Start by applying resin, then applying cloth to the wet resin, then another layer of resin, let dry. Work on one side at a time. Follow the mixing instructions on your product exactly
Between each layer of cloth I recommend adding an additional layer in the corners to add protection and help create a smoother transition.

It’s a good idea to add some tape here to create a nice straight and square edge to silicone when you’re done so no water can get down the edges of your tank, freeze, and cause cracking


Arguably you could stop at this point and call your tub complete as it will hold water but it’s important to note that fiberglass is a porous material, which means that it can absorb water if it is not properly sealed or coated. When fiberglass absorbs water, it can become weakened and damaged over time which can become exasperated when freezing temperatures are introduced...
This is why it is important to properly coat our tub to ensure it lasts a lifetime. For this I used a bathtub reglazing kit. If enough care and attention has been paid to sealing and sanding one coat will be enough if you’re not sure about a spot or two an extra jug of fiberglass resin is MUCH CHEAPER than having to apply an additional coat of bathtub glaze. ($200 per coat I speak from experience on this one). Ekopel 2K is what I used, it was as easy as mixing, pouring, and rolling for 20 minutes or so while it cured


Next I added a nice thick later of caulking around the entire perimeter to ensure no water could get down the sides and freeze. This won’t be submerged at all times, so any bathtub/shower rated silicone product will do. Allow all of this to cure a few days before filling and checking to ensure no leaking occurs. It’s not a bad idea to rinse the tub a few times before bringing back inside to set up the cold plunge components.
For the tank to work effectively you will need a temperature controller, A 3-way splitting GFCI switch, and a water filter/polisher to cut down on water changes. Some guides recommend a heater in place of a temperature controller here, however I believe this temperature controller method utilizes less energy. Plug the GFCI switch in to the outlet, and the filter and temperature controller into the GFCI switch. Plug the freezer into the COOLING outlet of the temperature controller and set the temperature to 36-39 degrees Fahrenheit. The temperature controller will cause power to cut to the freezer when it hits this temperature and not allow it to turn back on until it warms up by 3 degrees. The probe end goes in the water

.
NEVER GO IN YOUR TANK WHILE IT’S PLUGGED IN
Now you’re ready to fill your tub! While the GFCI switch should offer protection in the event of an electrical emergency my advice is to NEVER GO IN YOUR TANK WHILE IT’S PLUGGED IN
This can be ensured by attaching your wiring like this. The lid is prevented from opening unless the power in unplugged from the system. Once again, NEVER GO IN YOUR TANK WHILE IT’S PLUGGED IN
It’s also important not to OVERFILL your tank. This will likely require you getting in and out of the tank once or twice during the filling process, so make sure you’re prepared for that. My tank end up around this full to be at the perfect depth while inside. The submergible filter limits water changes to once every month or so depending on cleanliness upon entry.

Once you get your tank to the desired level consider adding a few bags of ice to the situation to reduce the load on the freezer compressor during the cool down process. This is not a bad idea whenever a water change is performed as well. Don’t let you’re tank get to far below freezing, as freezing may result in damage.
That’s it. Now you’ve got the ultimate cold plunge on a budget. The total cost, in Canadian dollars is as follows
2 Sheets plywood – $50
2 cans of Stop Leak – $30
5 pack JB marine weld - $60
1 can spray adhesive - $15
10-15 cans fiberglass resin – $500 +/-
50 sq. feet fiberglass cloth - $40
Bathtub Glazing - $200
Silicone - $25
Paint brushes - $30
Temperature Controller - $75
GCFI adapter - $35
100 Gallon water filter/polisher - $100
Grand Total - $1160
If this article is helpful consider a donation at grimerica.ca/support
Darren Grimes